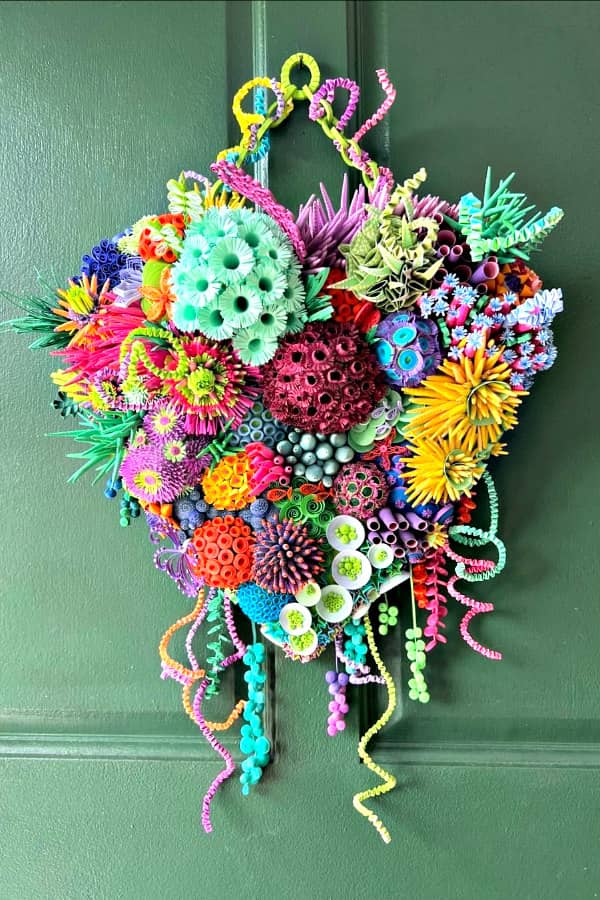
Celebrating All Things Paper 15th Blogiversary with a Quilled Card Tutorial
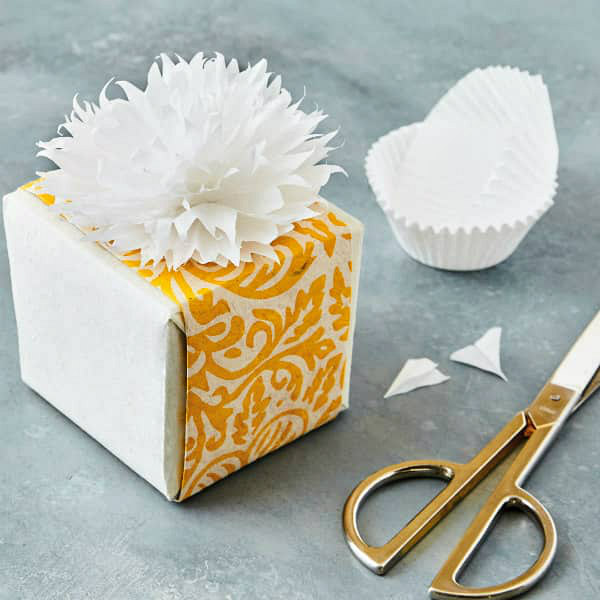
Thank you for visiting All Things Paper for the past fifteen (!!!) years. That's right, it launched in the spring of 2009. So, here's to another 15? It could happen! There is never a shortage of talented artists or topics to feature. I continue to enjoy writing about the world of paper art and paper craft, as well as posting what I've been making. If you would like to make a quilled card similar to this one, let me tell you about it... Flowery, but not too sweet, it would be fine to send to a male or a female for a host of reasons, whether as a thank you card, birthday, thinking of you, get well, sympathy, etc., just by changing the stamped sentiment and color palette. The spiral paper clip flower center is a fun touch and it's so easy to fill in with domed tight coils in graduated sizes. Rather than reinvent the wheel on how to do the two quilling techniques in the design, here's a previous tutorial for alternate side looping and for making domed tight coils .